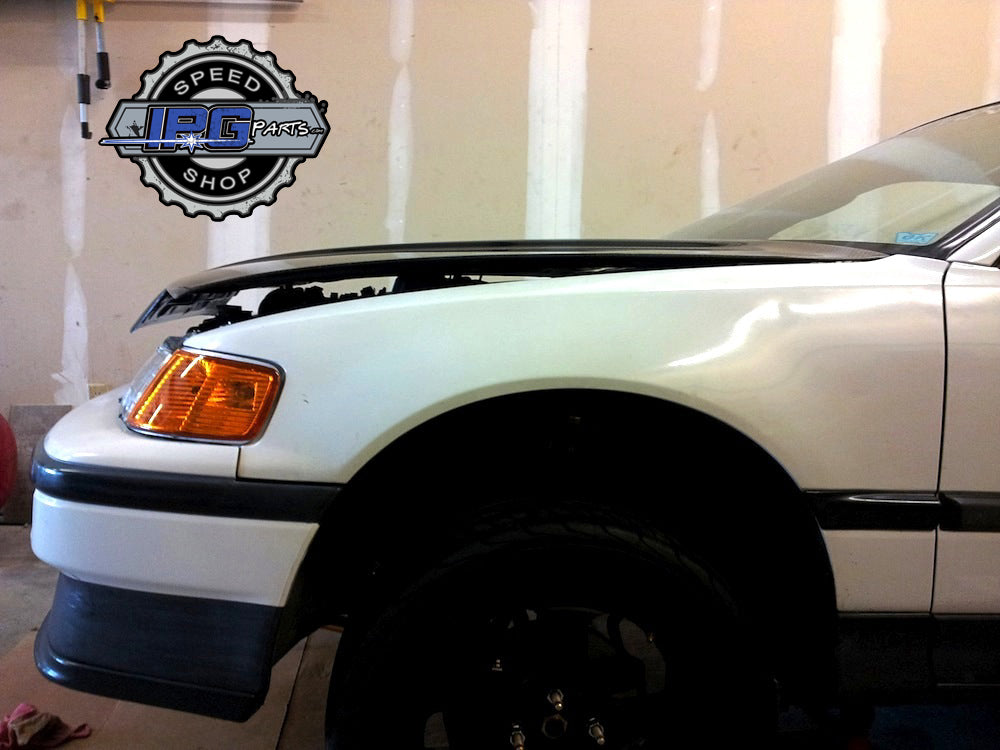
Well how do we fix this problem? Step one is to break out your money. You need to buy a JDM SIR style hood for a USDM Front End 88-91 Civic/CRX. The JDM SIR style hoods have the opposite center indentation than the USDM hoods. If you look at your USDM hood you will see the center portion sinking in, toward the engine. The JDM hood rises to aide in engine clearance. We purchased a VIS Carbon Fiber Hood for this particular project.
Step 2: There are a couple of issues with clearance of the OEM components on the RBC Intake Manifold. This mounting point on the intake manifold and the brake booster fitting will never give us the clearance we need to be able to shut the hood all the way down so we simply cut it off, welded the area and smoothed it out. If you are still running your brake booster you will need to drill and tap a place on the manifold to continue to run that hose out of the way of the hood clearance job. Somewhere down underneath it would be a perfect choice.
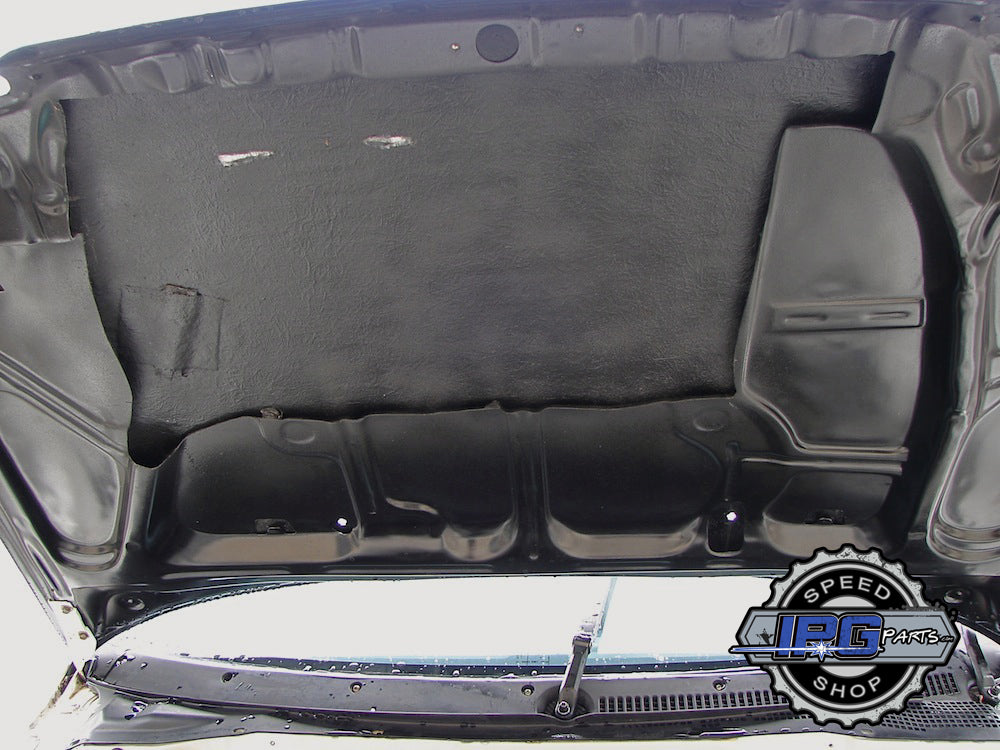
Step 3 is to start clearancing the hood by cutting out the inner webbing for those extra few inches we need to close the hood all the way. Covering your engine bay with some sort of blanket is a great idea as this part of the job does make quite the mess. Be oh so careful doing this. Don't cut through both layers. Here are a couple of shots of the beginning process and the finished product. Make notes of how and where we cut. This is all that you need to do. No reason to go overboard you will just make your hood weaker.
Getting close but now we move onto Step 4. The trimming of the inner guts of the hood got us close but we need a little bit extra room to get to where we need to be. This involves spacing the engine down in the chassis a bit. We used some basic hardware store washers and installed them under the Billet Mounts between the Mount Bracket to move the engine down in the chassis approximately 1/4". You only need to do this to the driver side transmission mount and the passenger side engine mount. We did not touch the rear mount at all during this process. The bolts are not the same bolts originally used. We went ahead and replaced the passenger side mounts stud and changed it to a bolt and installed longer bolts as needed for installation.
After that you are pretty much all done. If you still have your factory hood latch in place feel free to use that as you normally would. We took it a step further and added a nice set of Aerocatch Hood Pins during the process to really finish it off nicely.


